Maker Challenge Day 16: Acrylic Inlays
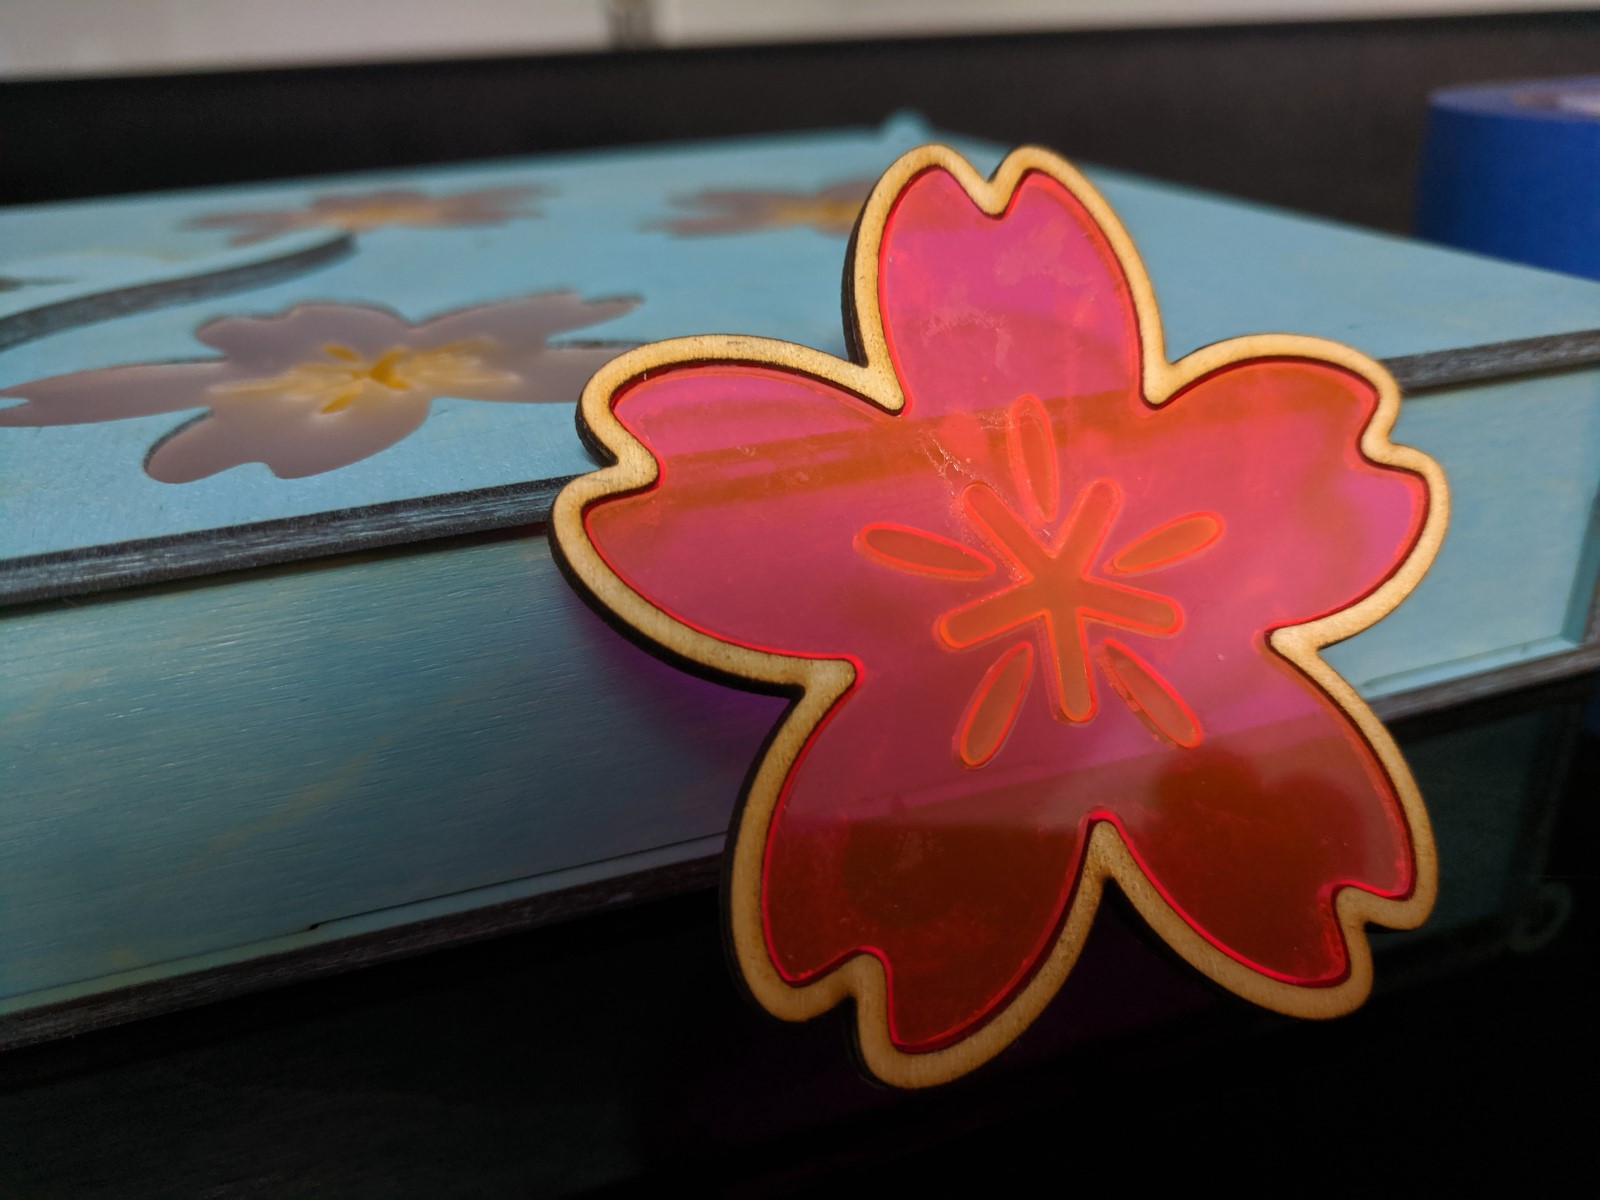
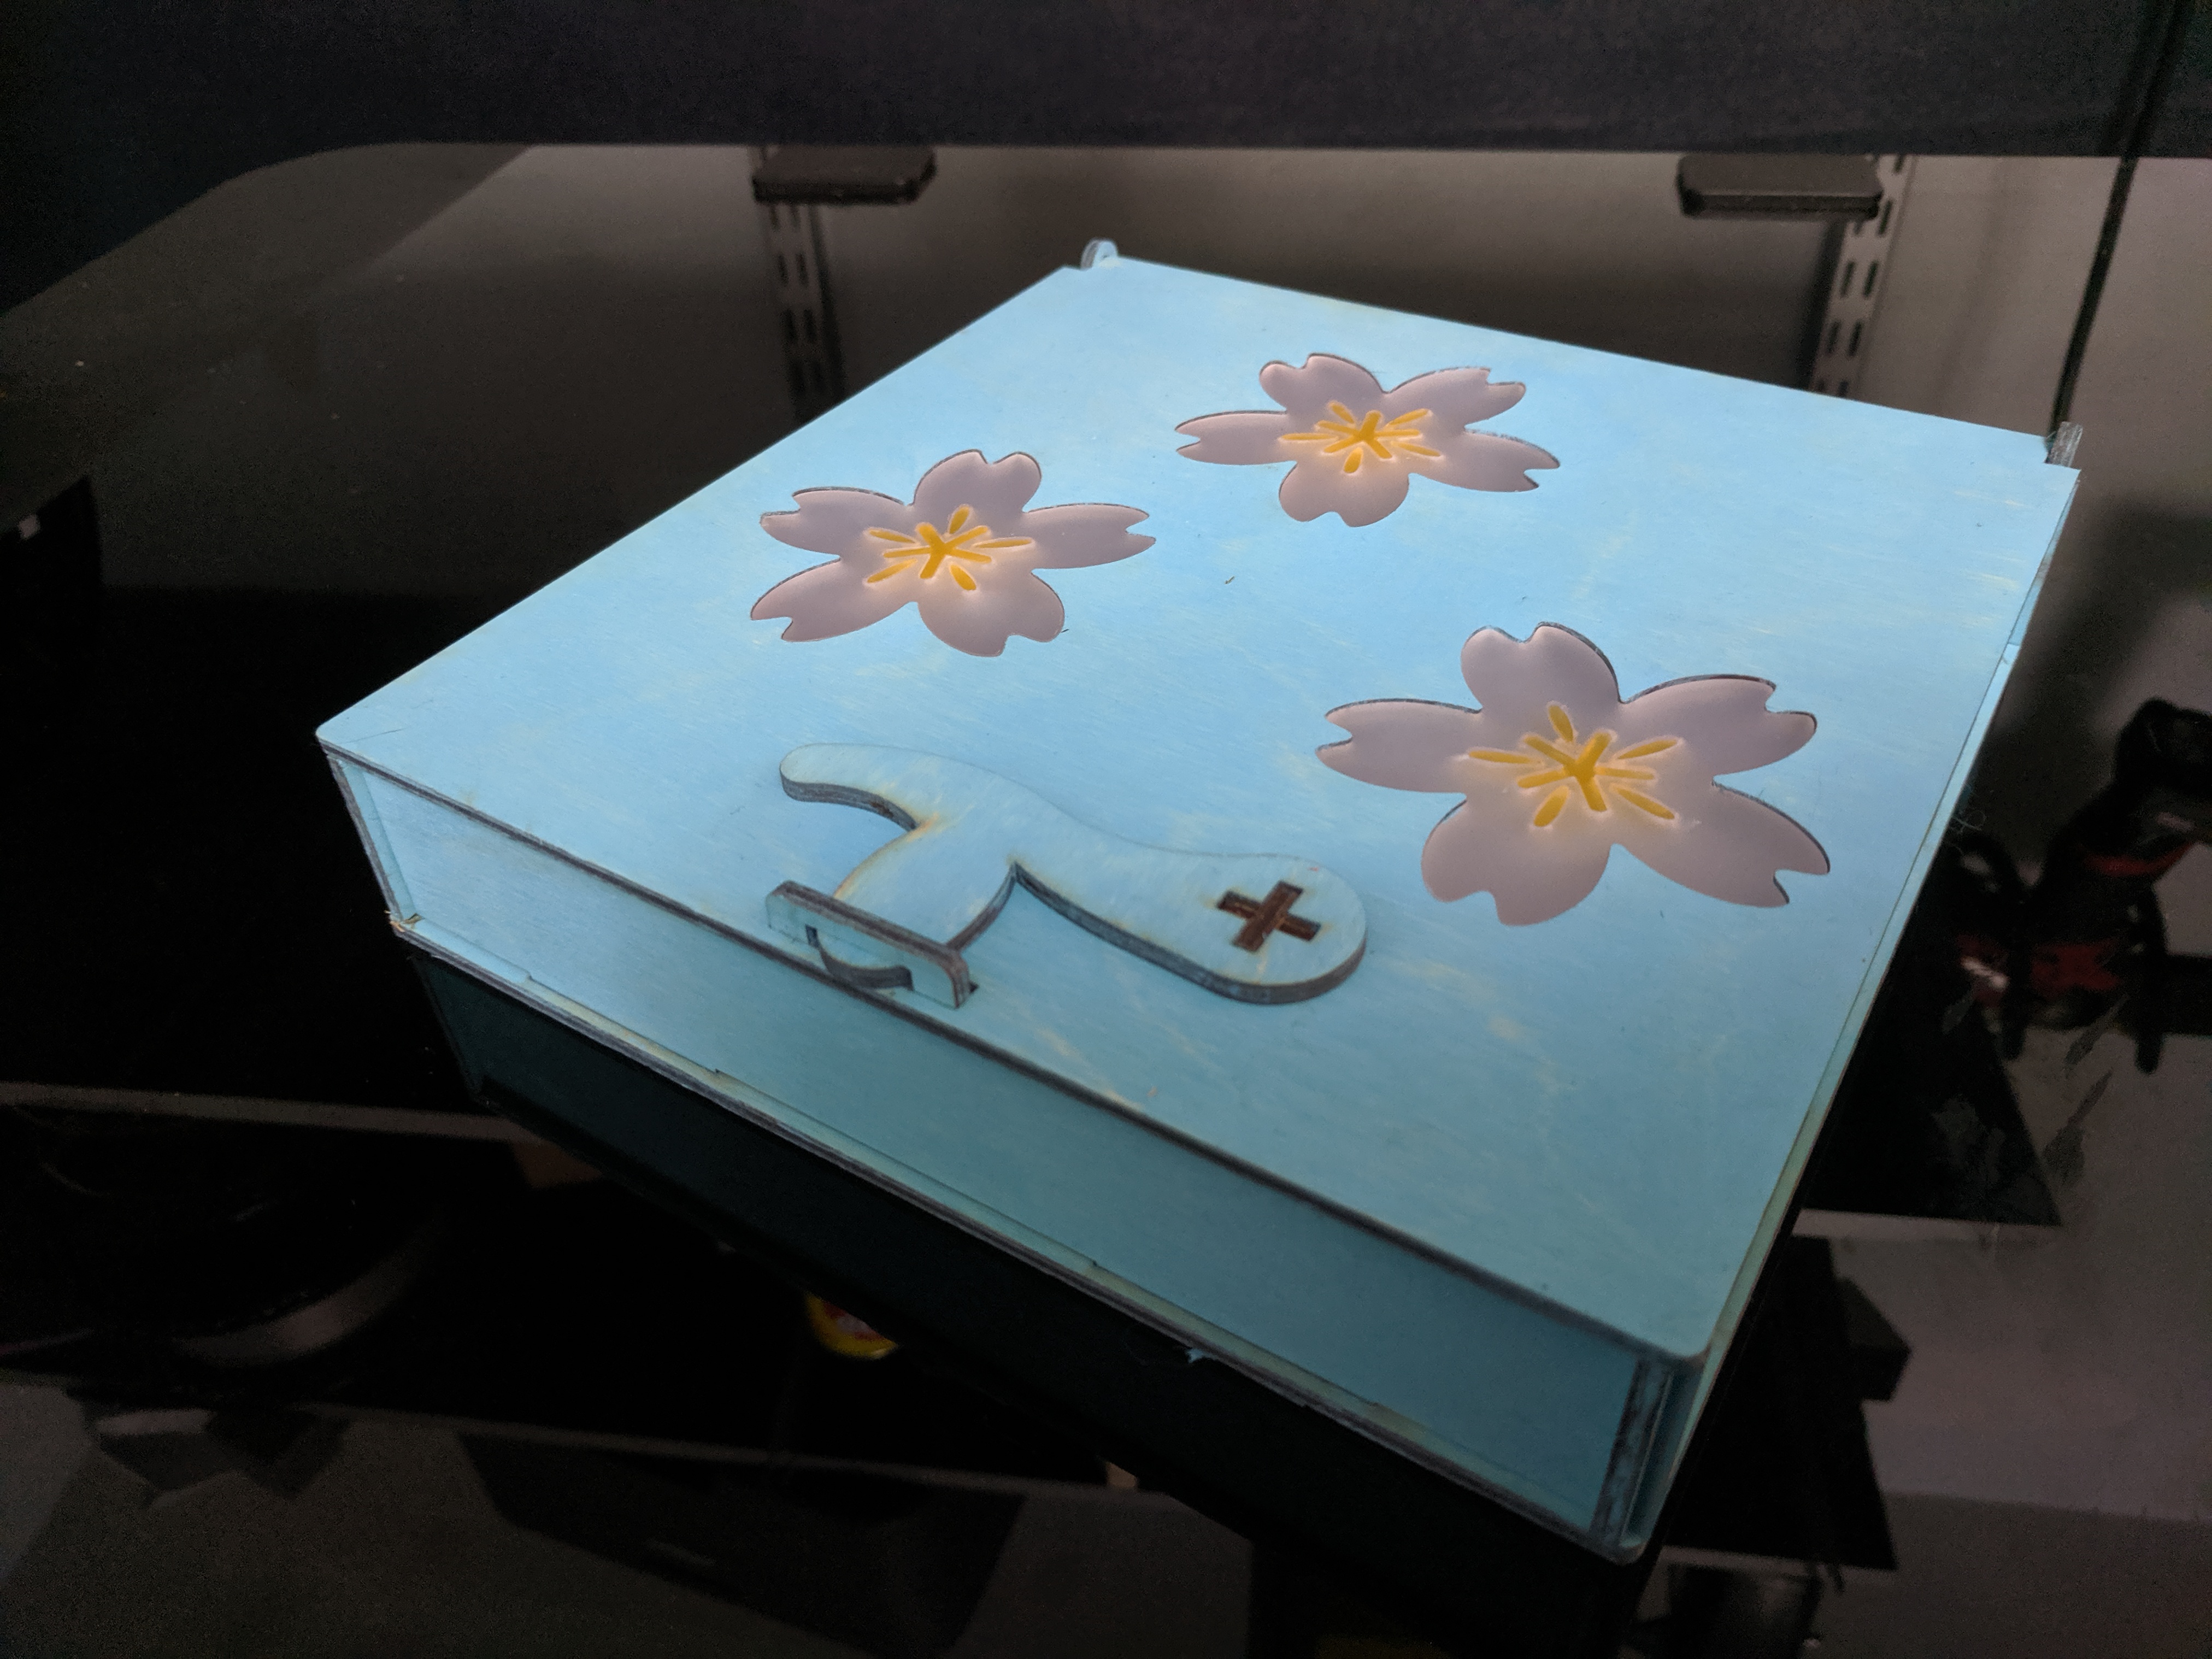
I’ve got a much bigger project for all of you today. This is another collaboration - my husband designed this particular box as a dice box for tabletop war gaming, and I decided to theme it to go with my floral Space Marine army. The box is an interlocking plywood box with a spinning latch, and the flowers are made from two different colors of translucent acrylic. The cherry blossoms were created using an SVG icon from The Noun Project.
The inlaid flowers are a pretty simple concept, but I needed a few tries to get them to fit. For my first attempt, I cut the pieces exactly as they were drawn, and ended up with too much of a gap between pieces. In the end, a .015” offset to the outside of the path turned out to be about right where the acrylic met wood, and .01” worked for acrylic to acrylic. The plastic fits into the wood pretty well; the plastic fits into plastic well enough that I almost didn’t need glue, although I still used it as insurance against losing tiny pieces. Speaking of glue, the plastic glue I use for assembling war gaming miniatures worked perfectly to fuse the pieces together. I assembled them, then brushed it on from the back.
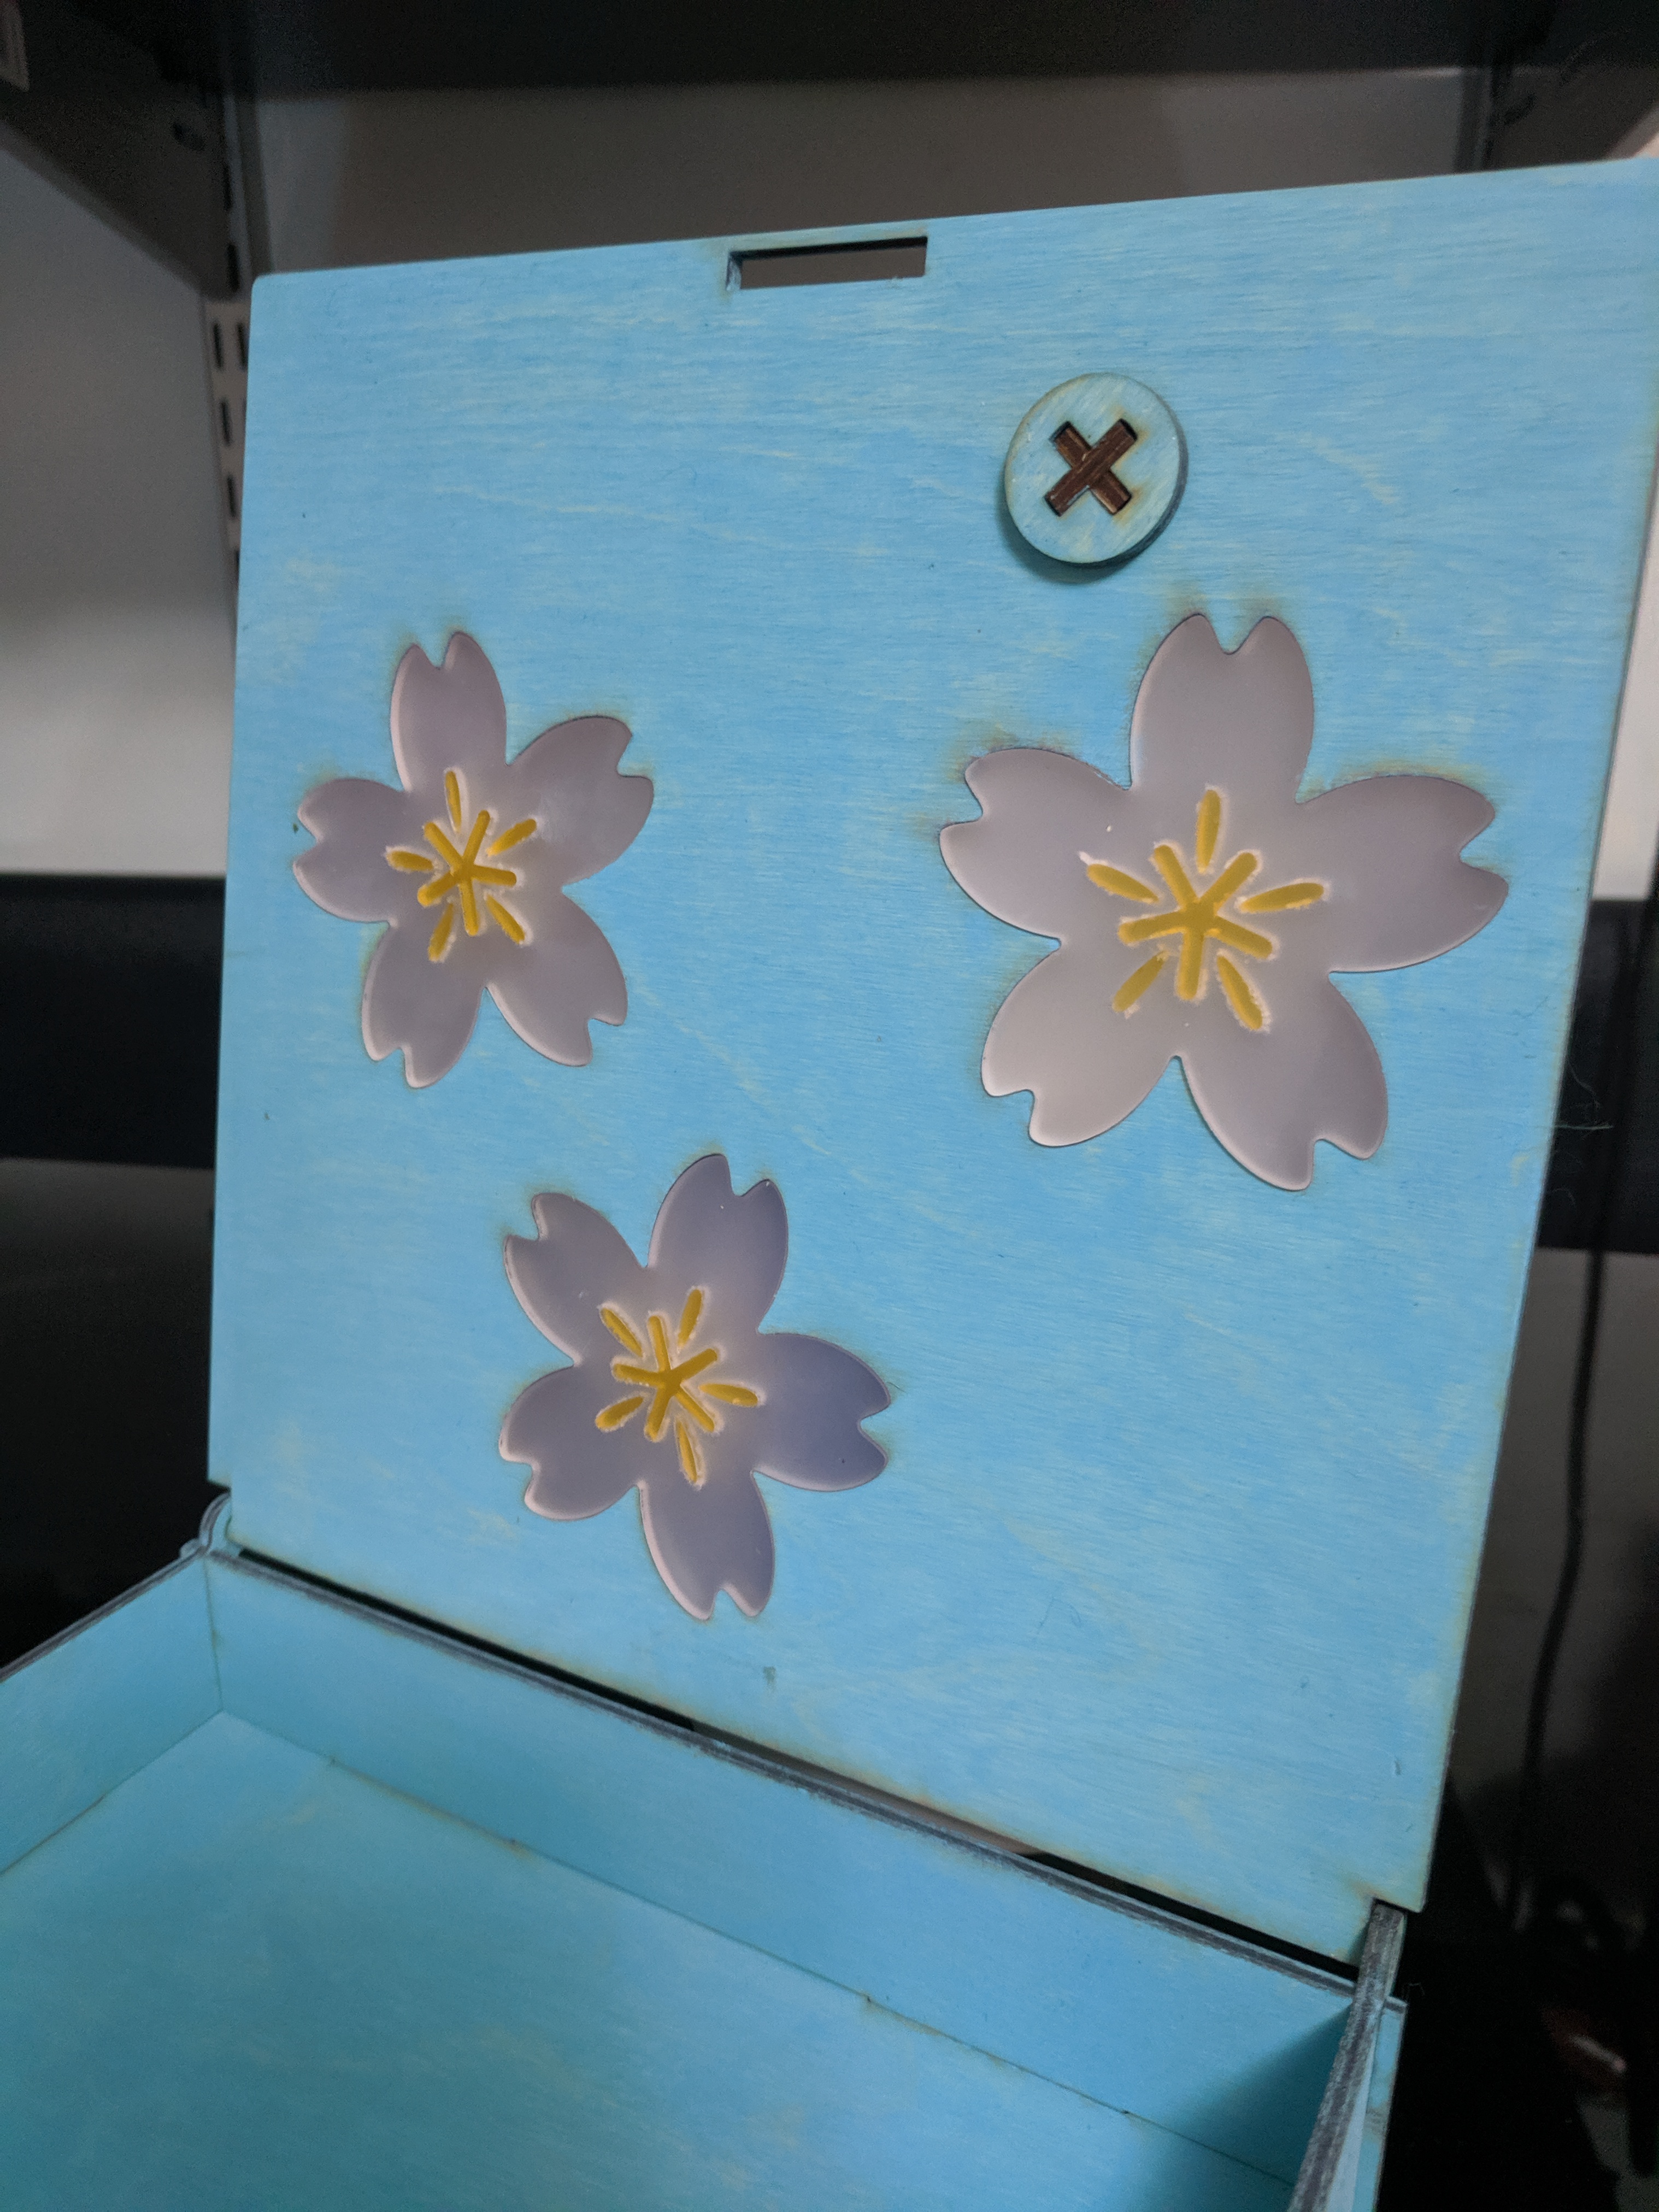
I’m really proud of this one. The matte finish of the acrylic looks much nicer in this project than the more typical glossy acrylic, and I love the combination of light blue wood stain and pastel acrylic. I also finally made time to try inlays, which I’ve wanted to do for ages.
Materials:
- 1/8” Rowmark ColorHues in Cherry Blossom and Daffodil (Flamingo Pink for the first attempt leaning up against the box in one of the photos)
- 1/8” Baltic Birch from Ocooch Hardwoods
- Tamiya extra thin plastic glue (plastic to plastic)
- Super glue (plastic to wood)
- Tacky glue (wood to wood)