Maker Challenge Day 23: Freehand Cherry Blossom Branches
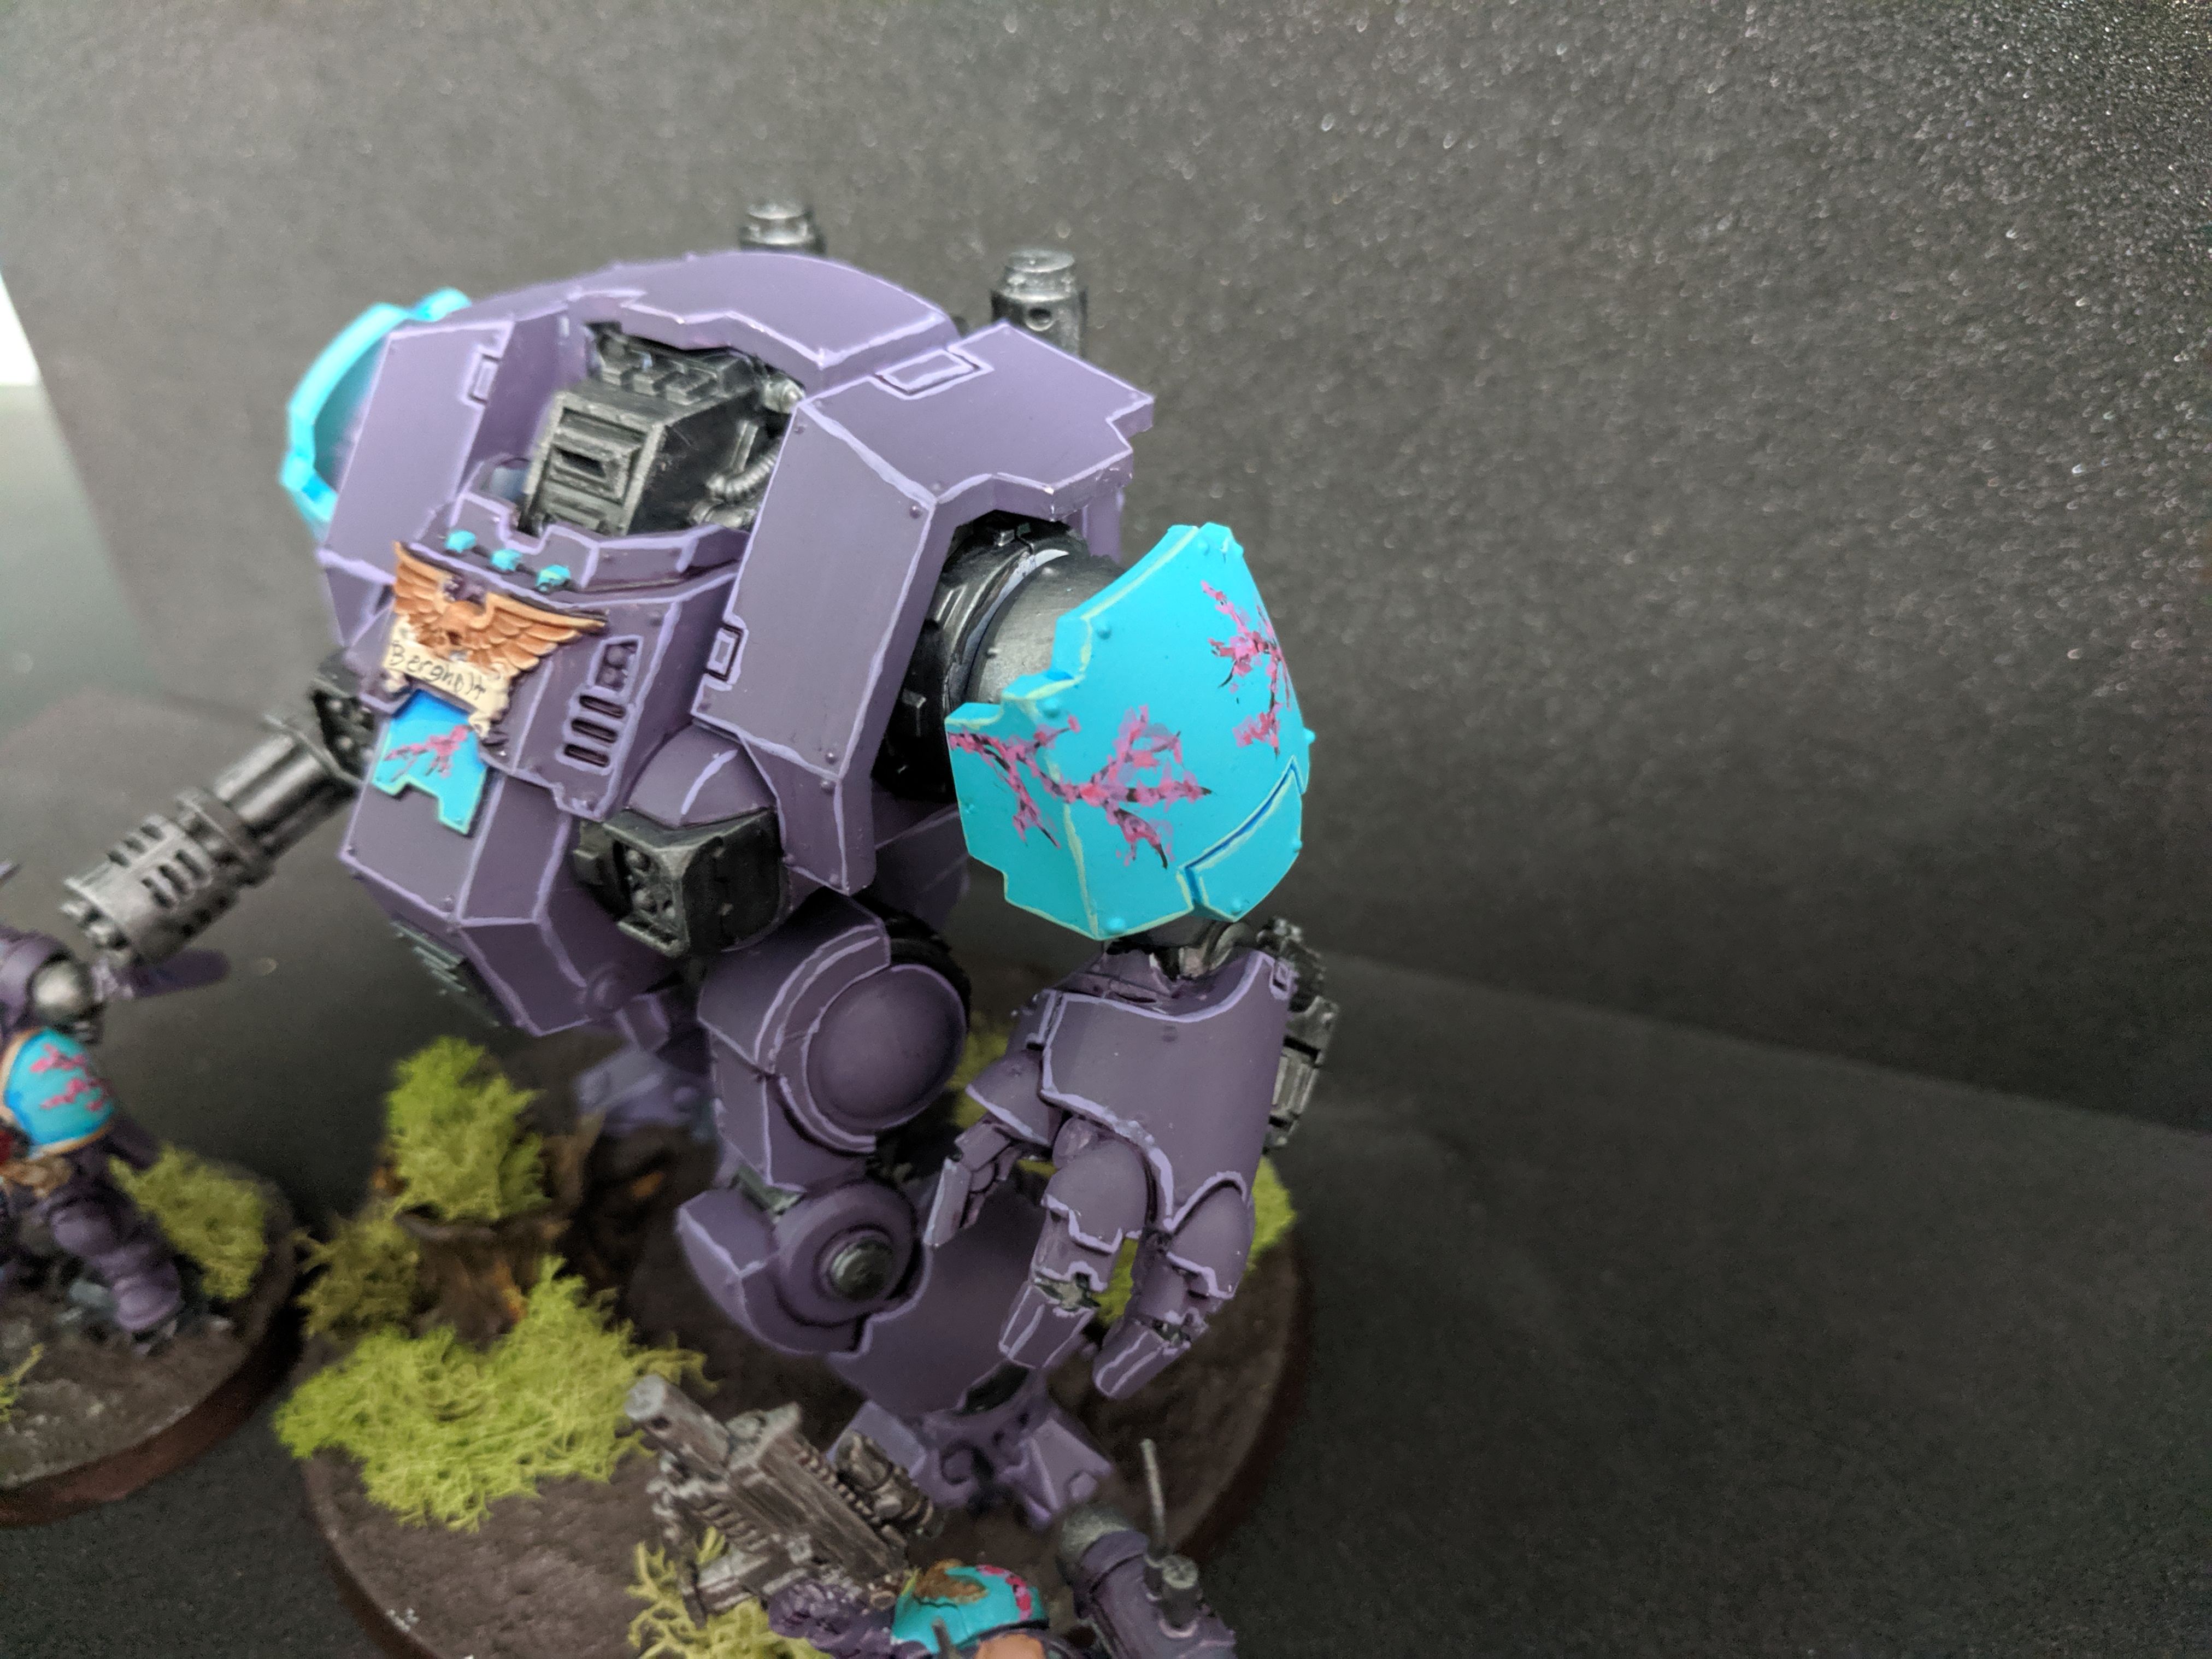
I recently decided to start building a Space Marines army for Warhammer 40k. It’s a very grim, very dark setting, and it’s reflected in the paint schemes and chapter names. For those who don’t play, a few examples of canon chapter names are “Blood Angels”, “Dark Angels”, “Imperial Fists”, “World Eaters”, and “Death Guard”. The paint schemes feature a lot of red, black, and dark blue. I painted mine pastel and floral instead, because it was fun. The color scheme was the result of a cherry blossom falling on the big model as I was priming it.

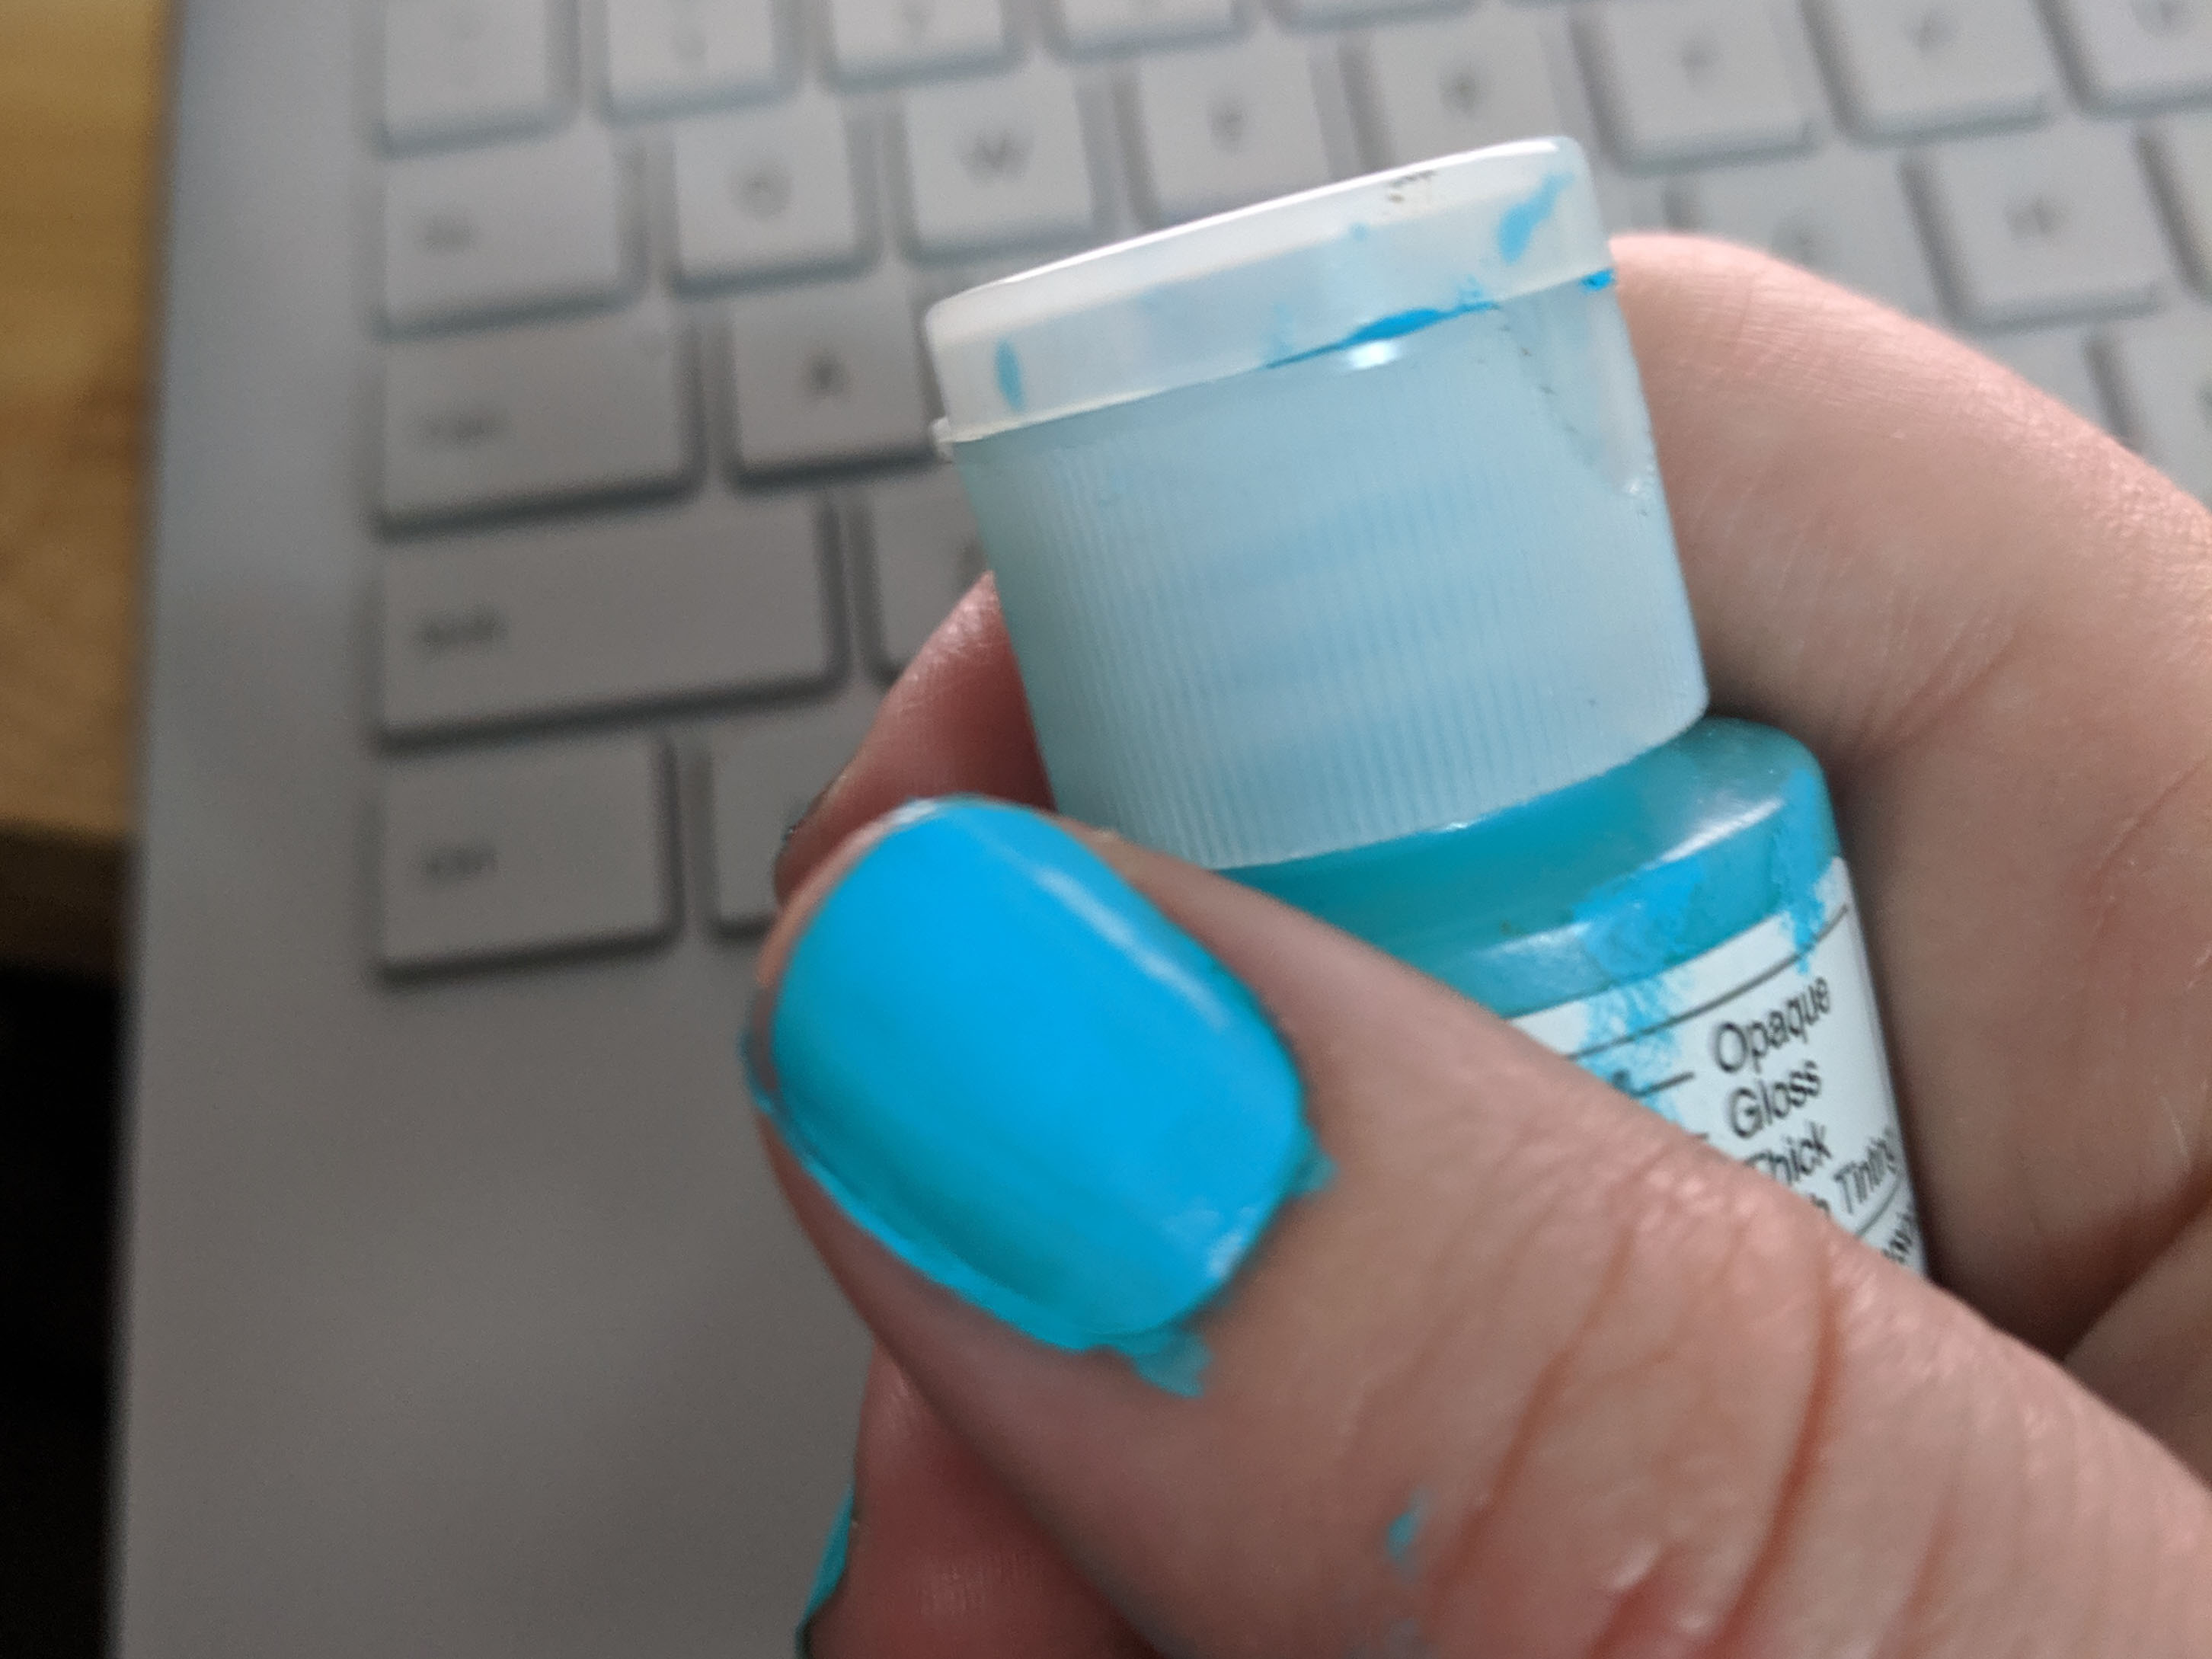
Somebody asked how I made the cherry blossoms, so for today I’m posting a guide to do that. I didn’t have any more minis primed and ready to paint, and the ones that are assembled are too small to be good for a guide like this, so I’ll be using my nails to demonstrate painting this at approximately the right scale. I know there’s a ton of paint on my hands; the turquoise made a bit of a mess when I opened it. The paints I’m holding in each picture are the ones I used for that step. You don’t need to use those exact paints; I happened to have those particular ones so I used them.
The first step is a base coat of color. On my models, I mixed paints to get the exact shade I wanted, but for this I’m just using a paint that’s pretty close in color.
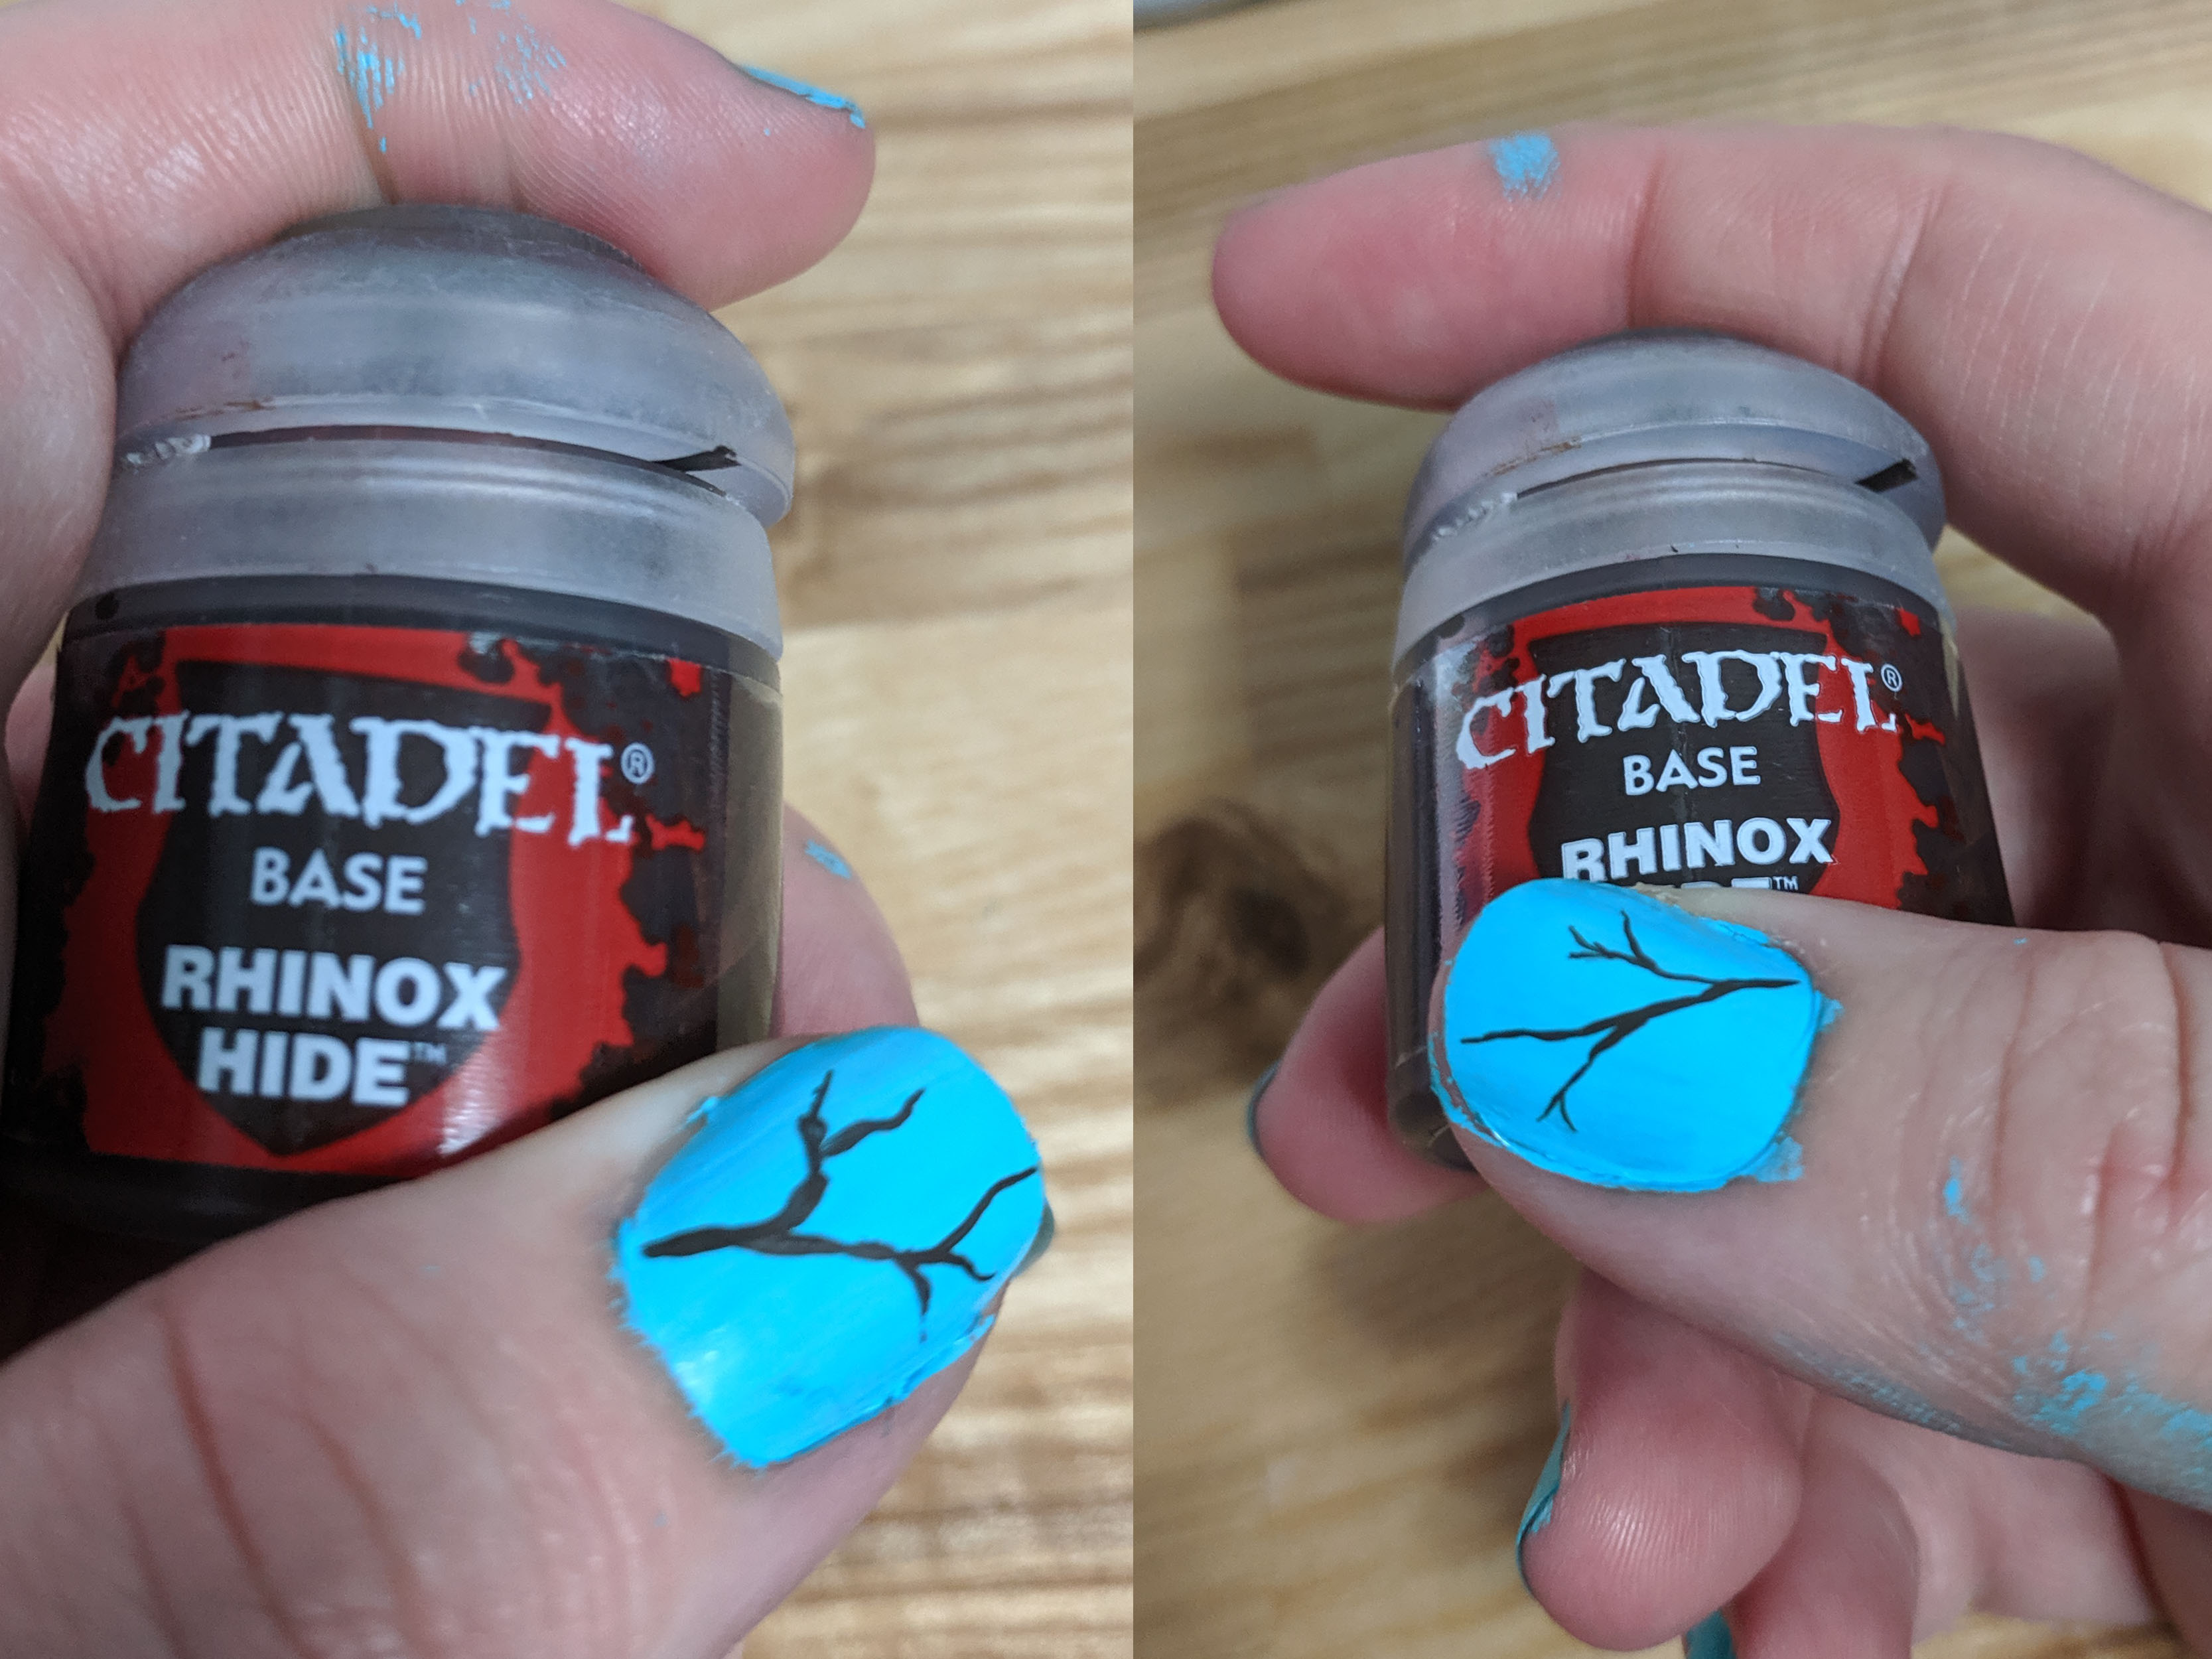
After that, I paint on the branches. I use a really tiny paint brush for this. For the branches, I start with one heavier, primary branch that sets the overall direction the branches will go. I start painting with the side of the brush and lift as I go (painting with just the tip of the brush by the end) so the base is wider and tapers as it gets closer to the end. After painting the main branch, I make smaller, thinner branches coming off of it. The hardest part for me is right here - keeping myself from making them too regular.
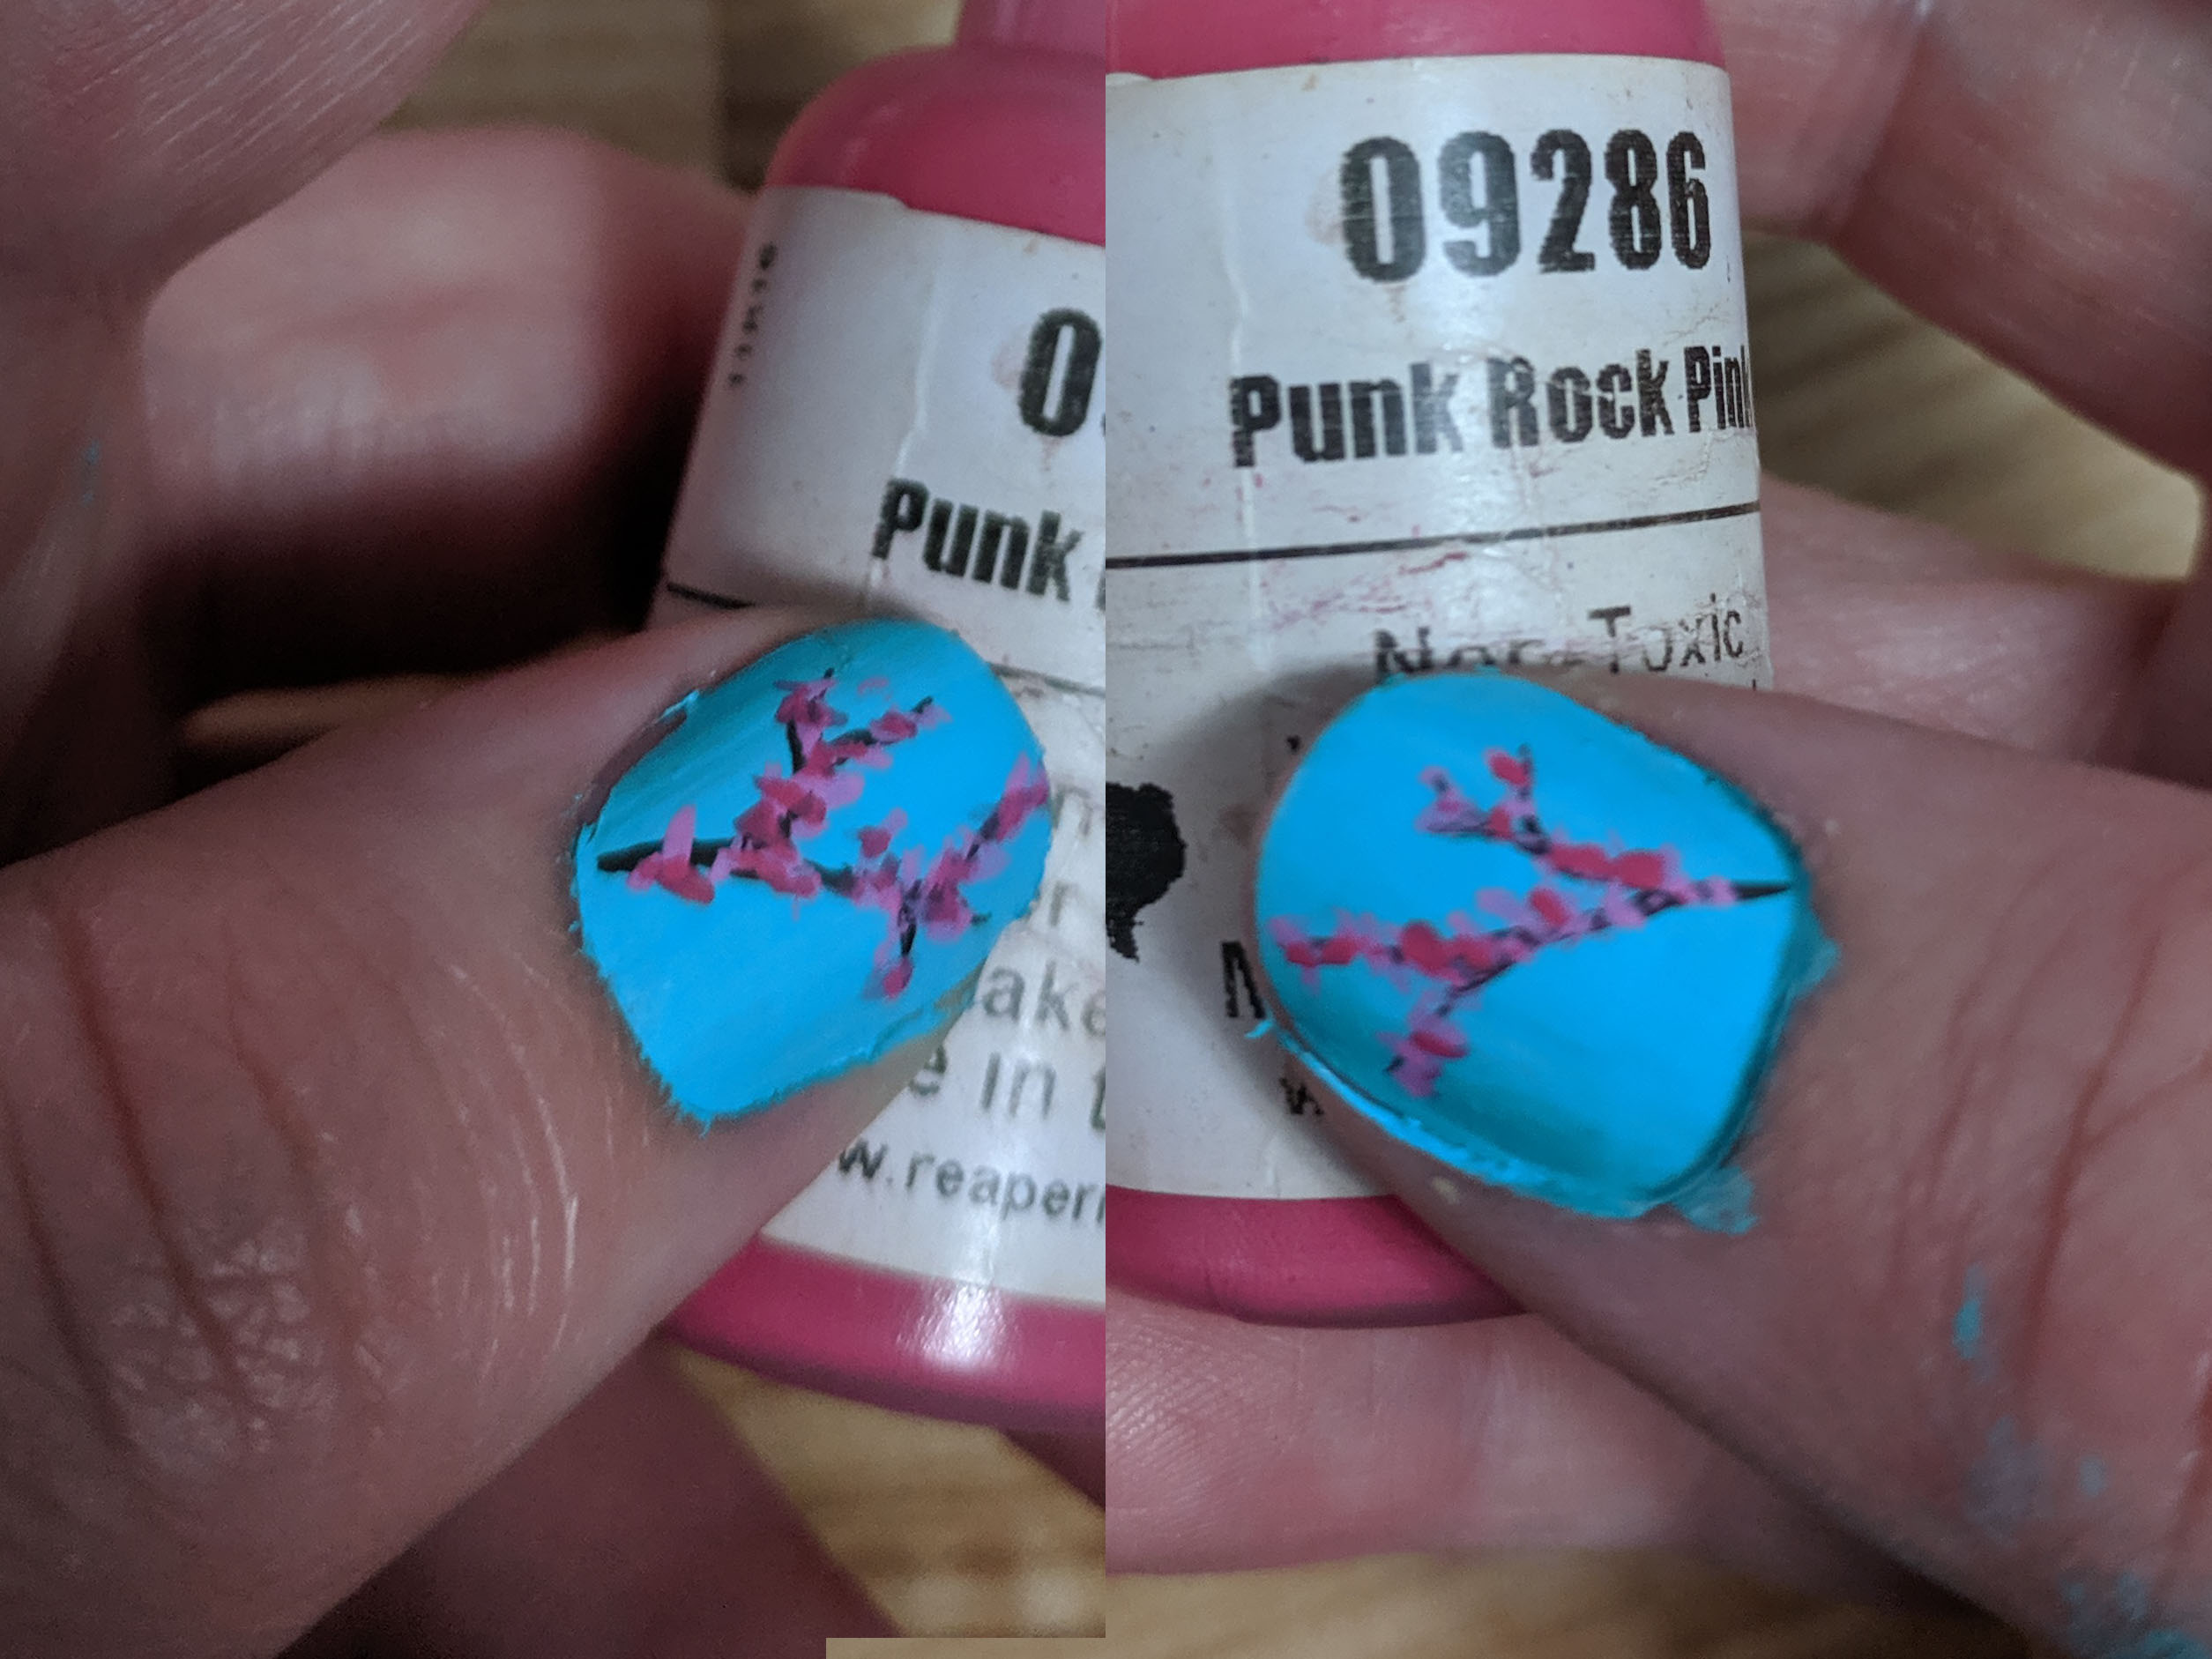
My first attempts at making the flowers used the head of a pin to make little dots, but I’ve switched over to using the same brush I use for the branches. I thin out a light pink paint a tiny bit more than I usually would, making it a tiny bit translucent and making sure it dries in a thin, smooth coat even though I’m about to blob it on a bit more heavily than usual. With the paint brush, I make little flecks of light pink. My first few tries I tried to keep them circular, but I like the look a little better with the more irregular shapes. I make them mostly touching the branches, although I put some between branches where there might be thinner branches not quite visible throught he flowers.
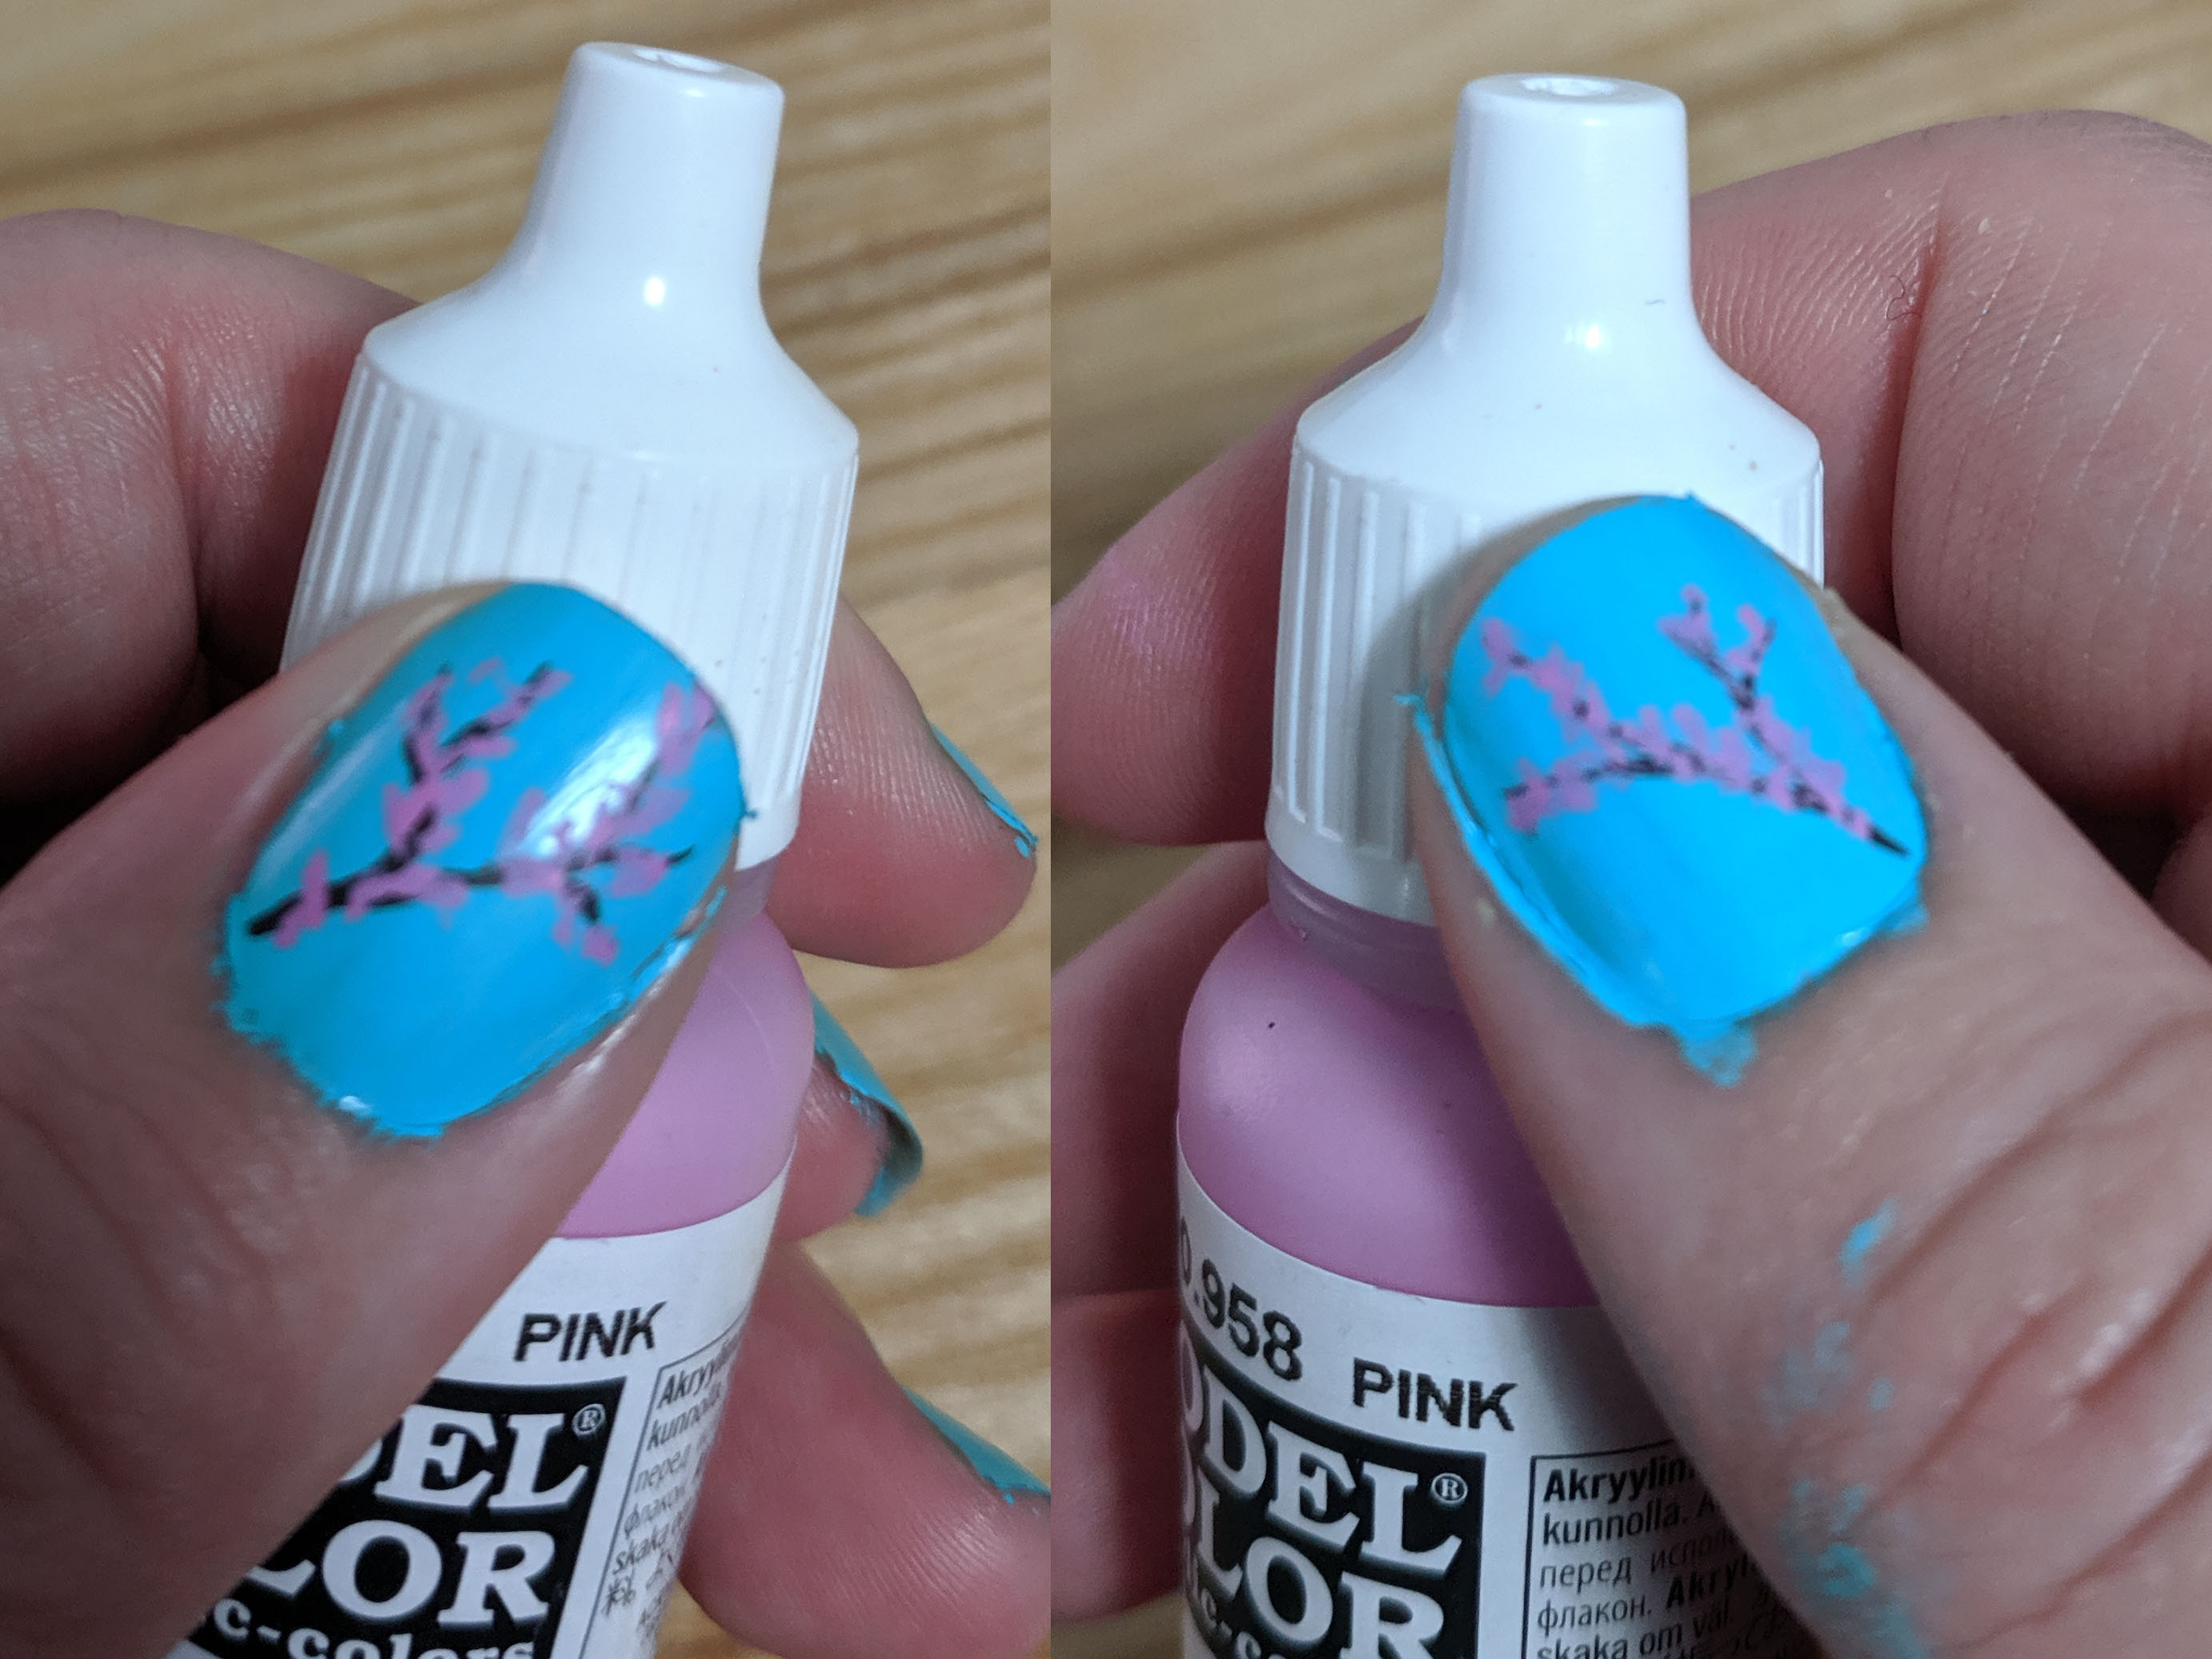
I repeat the process with a darker pink, but make fewer flowers. This particular bottle of pink is already quite thin, so I don’t thin it out at all. Your paints may vary. If you find that you have too much dark pink, you can add a bit more light pink. On the dreadnought (the bigger model), I went back and forth a bit to layer the flowers, because they were more visible. On the smaller models and in this example, I didn’t bother.
Tips
- Thin your paints.
- Especially when painting the branches, don’t be afraid to rinse your brush and grab fresh paint. I did it a lot and it helped with getting smooth narrow lines.
- Don’t try to be perfect and regular. If you’re like me, actively fight against it.
- Seriously, thin your paints.
- Practice a few times on something other than where you really want the design to end up. Before I painted my models, I had a very strange mix of attempted flowers on my nails because they were the most convenient place to test ways of painting this.
Supplies
- Acrylic paint. I used Citadel Rhinox Hide, Vallejo Model Color Pink, and Reaper Punk Rock Pink.
- Really tiny paint brush. I used the Army Painter Insane Detail brush, but any brush small enough to do this at the scale you’re using will work. I think the brush I used is about a 000 brush size.